Artists often create their illustrations using many different methods. Creating artwork to be inserted into a book can present some digital challenges for those who typically only do their sketches on paper. There are many ways to accomplish so it will be up to each individual artist which route may be best suited for them. Below are simply some recommendations while acknowledging there are many many other ways to accomplish this same goal. Artist who do not feel they can handle these technical tasks are encouraged to communicate this with the literacy team, we may be able to pair you with a volunteer editor to perform these tasks on your behalf.
Note: increasingly artwork can be created directly on a computer, this often involves illustration software like Adobe Illustrator or a free alternative like Inkscape. Then to give artists better hand precision a digital artists’ tablet like the $80 Wacom Intuos Graphics Drawing Tablet can be a powerful tool. The advantages of using a computer to create artwork are many such as easily erasing & redrawing perfectly and also such artwork is already digitized so many fewer steps required are required..
Scanning paper-based artwork
For artists who work on physical paper, canvas etc, commonly the use of a good scanner to digitize artwork can be a much better choice than utilizing a cell phone or some other kind of digital camera. Many scanners have options for quality & color standards etc. For our purposes with simple line drawings, 96 dpi is sufficient higher dpi settings are fine but they do add to increased file sizes which we would prefer to avoid (more on this later). Also we recommend setting the scan to gray-scale or even Black & White if possible. (Though each image will need to be looked over to make sure you are happy with the results). Unfortunately scanning images can have unintended consequences including subtle shades of white that aren’t true white. These can increase printing costs later down the line and increase file sizes of our books making them more difficult for missionary teams to work with since internet is often worse than dial-up in many remote places where they work.
Reducing file size for B&W line drawings
Keeping the file sizes of the books in our library can make them much more accessible to missionary teams who work in remote locations. Some often have no internet access at all and rely on slow radio connections for email etc. To help we try to reduce the size of the images in all the books in our library. Images are the number one factor that causes file size for books to grow exponentially.
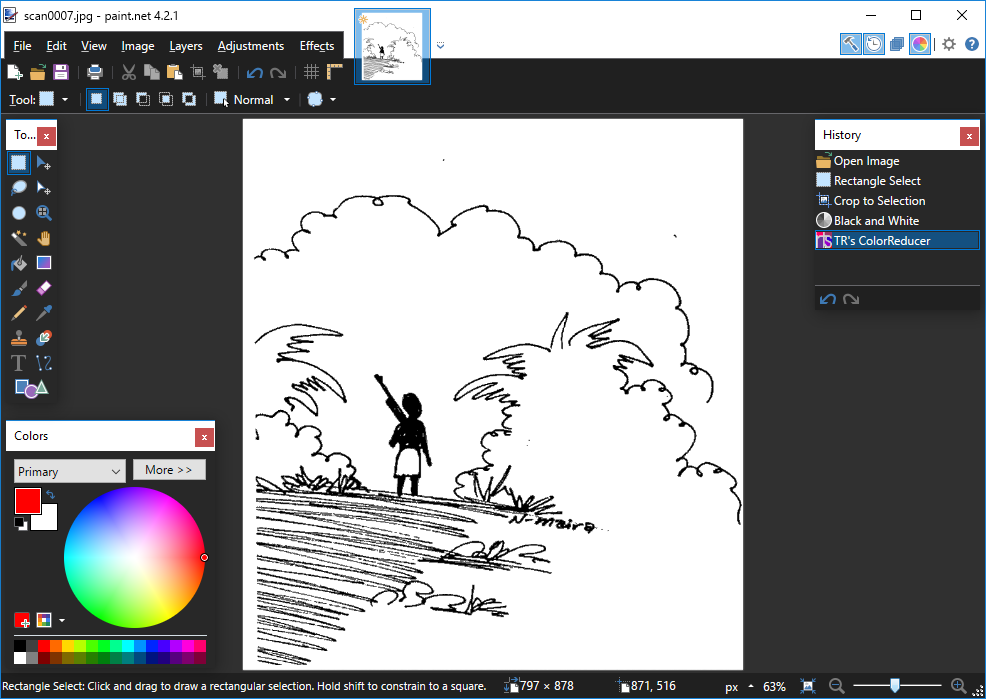
If your artwork consist of strictly black & white line drawn images, you may be rather surprised by how unnecessarily big the individual files may be after scanning them. Cleaning images up with software can help reduce image sizes dramatically. There are many options out there that would work well. One free recommendation for our project is Paint.NET. Paint.NET is a powerful yet completely free software that unlike some programs out there is relatively easy to learn, especially if you are already familiar with the Paint tool that comes free with all versions of Microsoft Windows. You can download Paint.NET here.
Step 1: Cropping
First of all, after scanning, your image likely includes quite a bit of extra space and should be cropped. Go ahead and open up your image editor of choice and remove the excess margins. With this example we’ll take a raw scan that weighs in around 289kb. Through some cleanup we’ll end up with a file that is only 19kb and actually looks much better too!
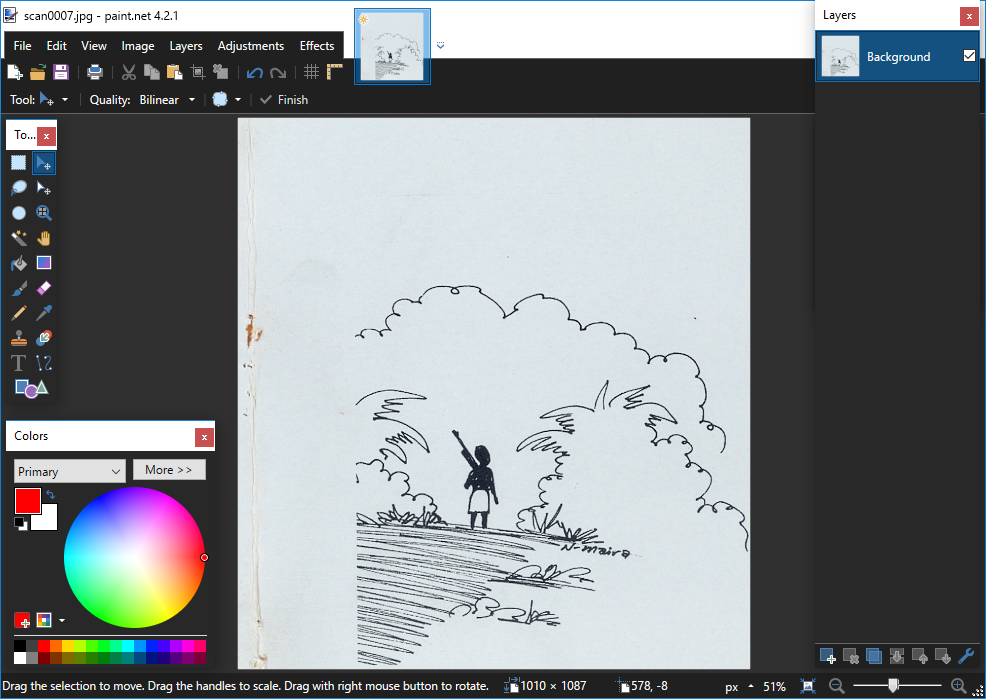
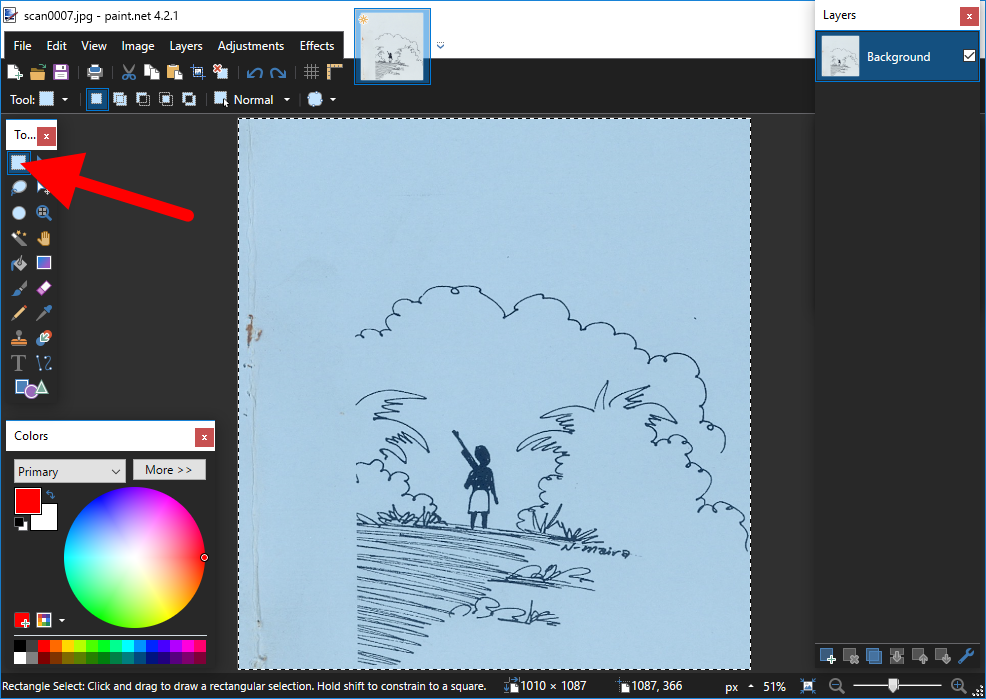
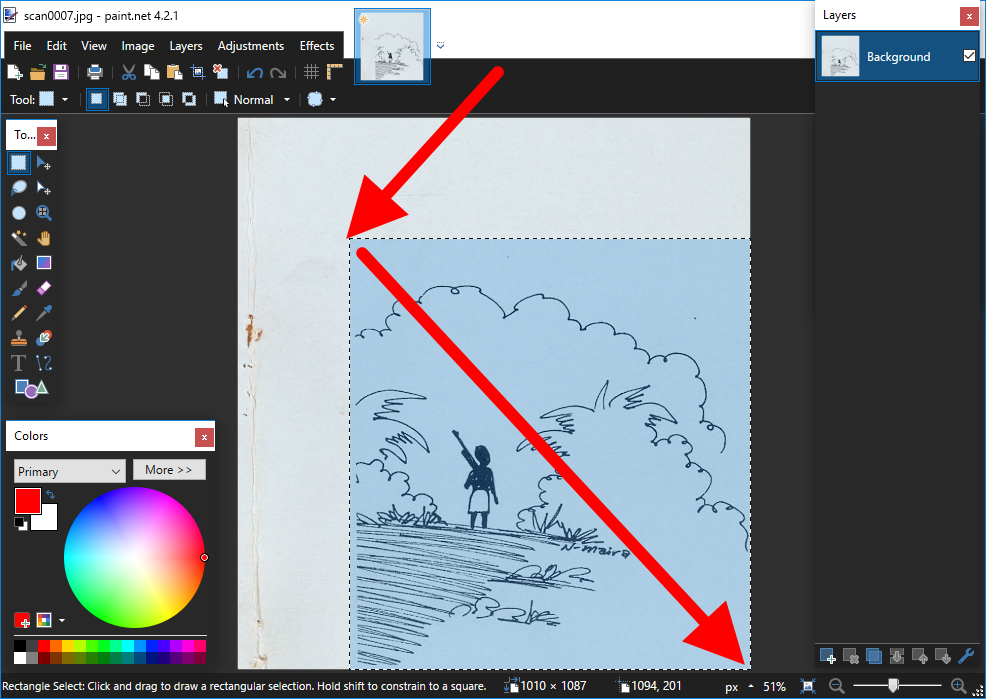
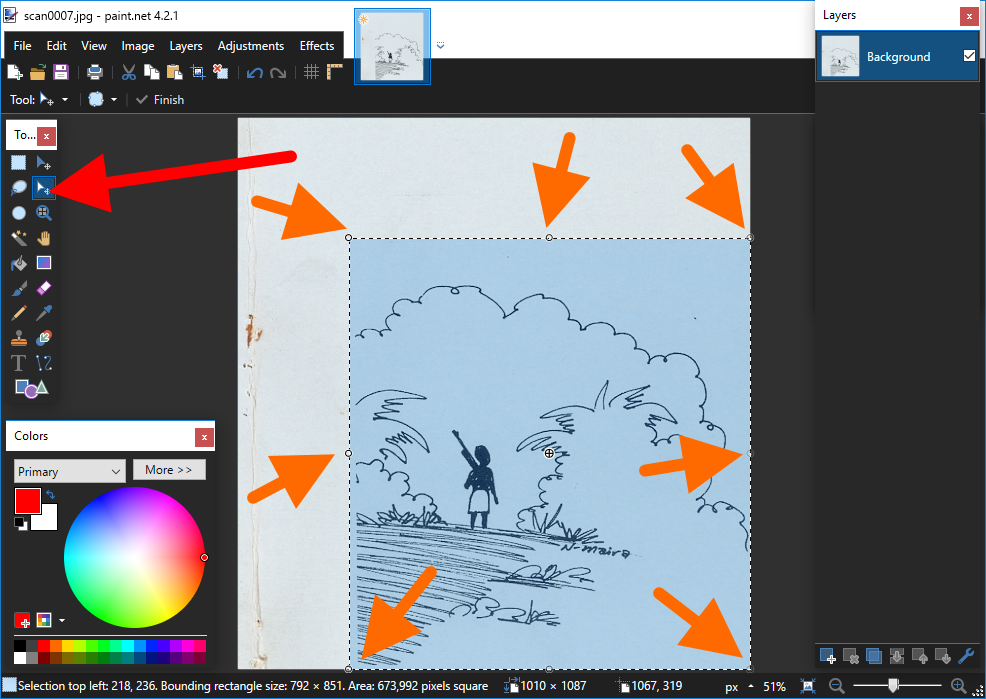
The following example’s file size currently is 289kb With this example, notice the extra white space particularly above and to the left of the image (notice too the extra coloring in the white spaces to the left) that is all unnecessary and should be cropped. This will fit better in the book and reduce file size for this image. To remove this excess space, first select the Rectangle Select tool in the tools menu (Be aware, usually the tools menu is to the left, but this tool bar can be moved or even hidden)Draw a box around just the portion of the image you want to keep, the excess white space should be mostly outside this box. Start by clicking and holding the mouse in a corner of the portion of the image you want to keep then drag the mouse diagonally to the opposite corner of the portion of the image you want to keep, then release the mouse. Once you release the mouse, if you are not happy with your selection you can click elsewhere in the image (without hold the mouse down) to remove the selection then you can start overOptional step: Once you’ve drawn your box, you have the option of making very precise changes to your selection box, to do so, select the Move Selection tool in the Tool menu (Red arrow above), when you do so, notice that eight circles will appear on the corners and sides of your selection (Orange arrows above). Moving your mouse over one of these circles you’ll notice your mouse will change shape. If you click and drag one of these circles, you’ be able to change the shape of your selection box in a very precise way.Once you are satisfied with the placement of your selection box, click on the Crop to Selection icon in the main tool bar at the top. This will instantly cut away any portion of the image outside of the selection box Very good, you’ve now cropped the image, in this example with the excess now removed we’ve reduce the file size of this image down roughly 1/3 to 201kb
Step 2:Converting the image to gray-scale
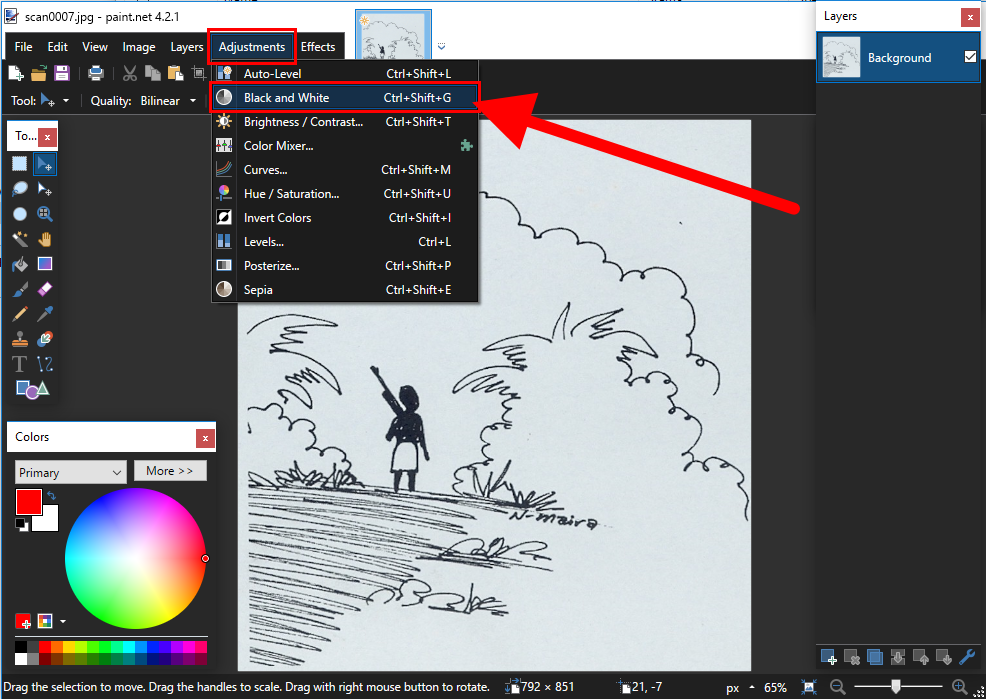
Another important step is to remove millions of unseen colors from the color map of the image (if you scanned your image with gray-scale, this step will not be necessary, this example however was scanned full color so it’s very necessary). To do so is easy, click on the Adjustments menu then choose Black and White from the options. This will convert the image to a 256 gray scale image.Notice that the slightly blueish gray background has now been converted into pure gray. Other than this, the image still looks very clear. Our example file is now slightly smaller at 192kb. That’s not much smaller, but this is a very important step that will help us achieve much better results with future steps.
Step 3: Reducing gray shades and making the background pure white
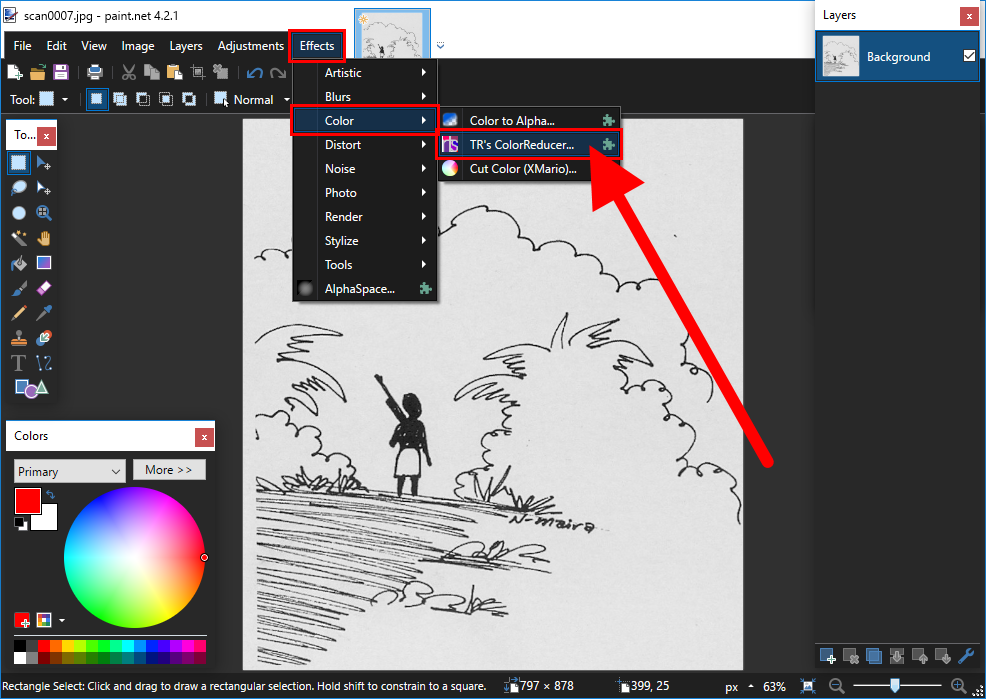
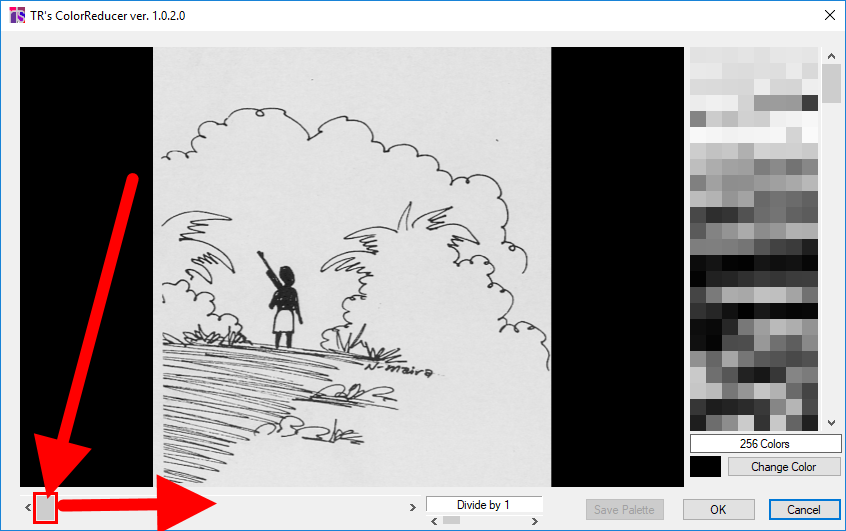
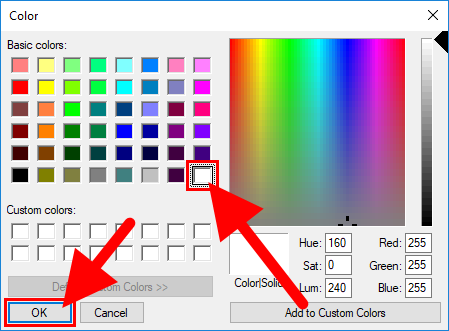
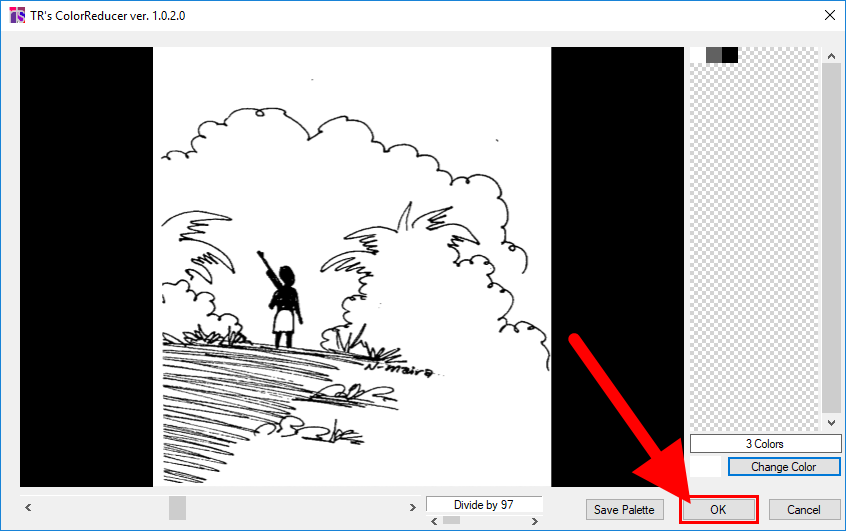
Once the TR’s ColorReducer has been installed you should be able to call it up by clicking on the Effects menu then click on the Color option then finally choose the TR’s ColorReducer optionIn the resulting window, find the slider at lower-left. Slide this to the right trying different positions. The reducer will re-balance the image based on fewer shades (aka colors) as you slide further right. Experiment a little, no permanent will be made to the image just yet. Look for a position that removes many shades yet doesn’t visually impact the quality of the image. Many line-drawn images can can be reduced to as few as 3 shades but some can’t be reduced lower than 8-16 shades before they start loosing quality detailThankfully at only 3 colors, this example still looks really good. Now let’s change the background gray to pure white. Select the color in the list of colors on the right panel that looks like it matches the background color the most. (typically the background is going to be the most dominant color so it’ll be the left-most color in the panel)With the background color now selected, go ahead and click on the Change Color button in the lower rightIn color window, first choose the pure white color which is the box in the lower right of the color boxes. Then select the OK buttonNice, this image is looking really nice, now to apply the changes click on the OK button (Note: if you don’t like the results, you’ll need to click on the Cancel button instead and start over, sorry, unfortunately there is no undo button)With only three colors, one of them being the pure white background this example image is now down to 150kb, about half the size of the original and looking much better.
Step 4: Converting the image to a GIF file
There are many different kinds of image file type options for digital images, we have found however that if all of the steps above have been completed, this final step of converting an image to a GIF file can really pay off in getting the image size down considerably while still keeping the image quality at an acceptable level
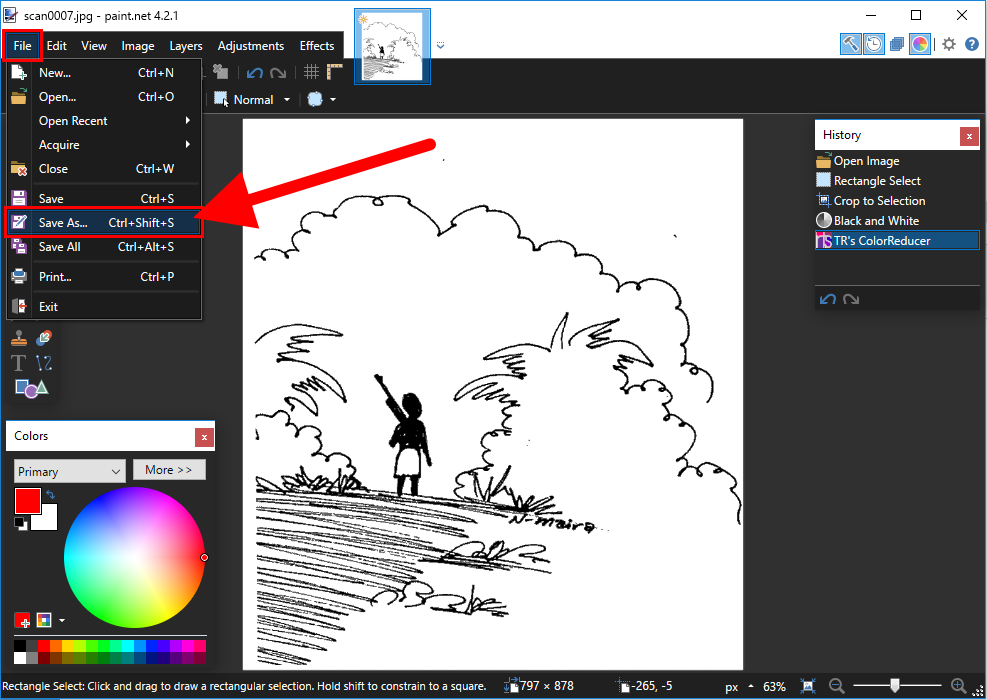
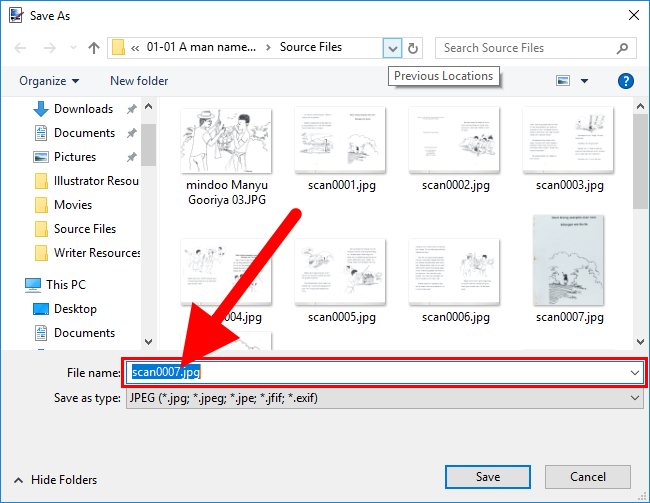
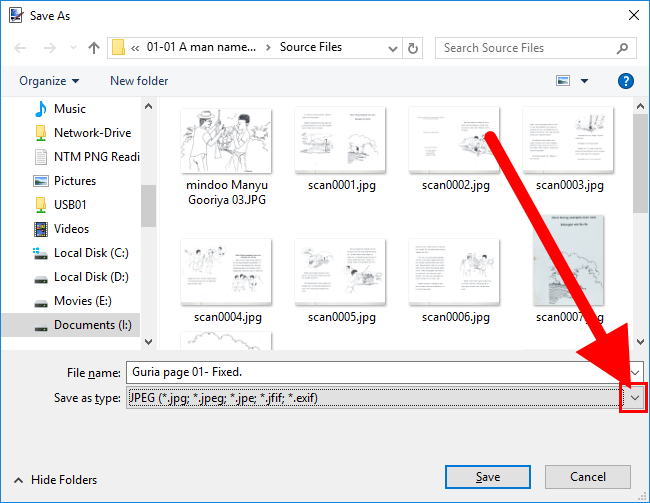
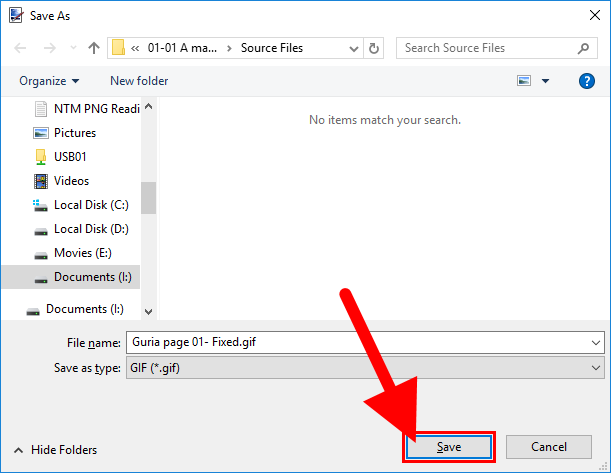
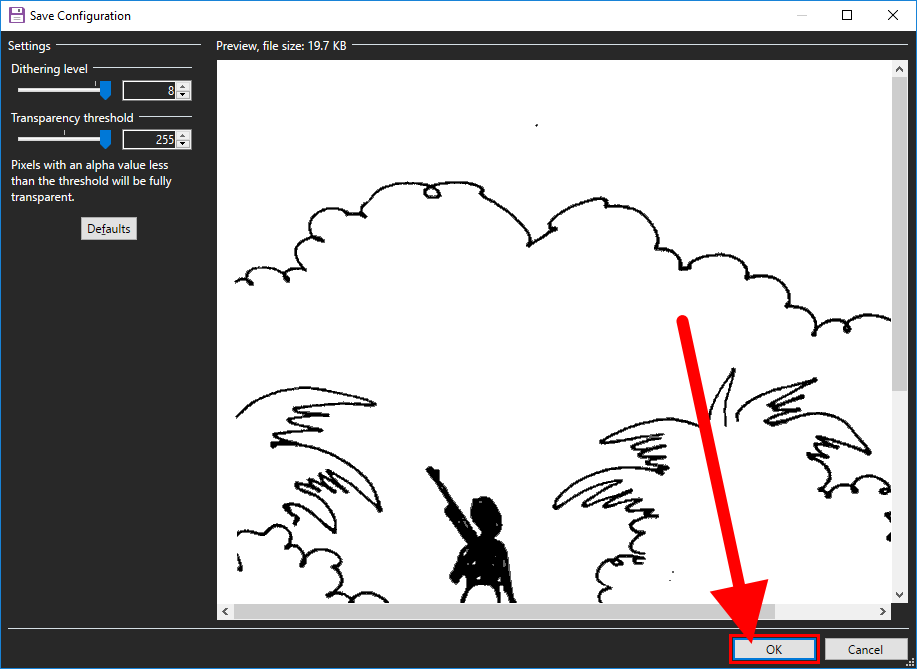
The first step is to click on the File menu and choose the Save As option Once the Save As window appears, you’ll have the option of selecting the location you want to save this file in and to rename the file if you so choose. It is recommended that you rename the file, perhaps something that includes the name of the book and what page number the image goes on etc. This will help you or others when it comes time to insert the image into the book. Now click on the down arrow on the right end of the Save as type: boxFrom the list of options, choose GIF (*.gif)If everything looks good, go ahead and click on the Save buttonPaint.NET will bring up this confirmation window, notice the file size our example image is about to be saved at is now only 19.7kb! That’s a huge improvement over the original 289kb file size when we started. If the image quality looks acceptable, go ahead and click on the OK button to actually save this image. (note, you can optionally play with the Dithering level in the upper left by sliding this value to the left to possibly reduce file size even more, keep an eye on image quality as you do just to make sure this change doesn’t negatively impact how the image will actually look)
How to insert artwork into Microsoft Word
Many artists do not know how to get their artwork added into a Microsoft Word document like we use for the books in our project here. The following is a basic introduction in how to do this. There are other ways but if this is your first time attempting to do so, give these steps a try. (Be aware, your version of Microsoft Word may look a little different than the images posted here, however the principles should be basically the same)
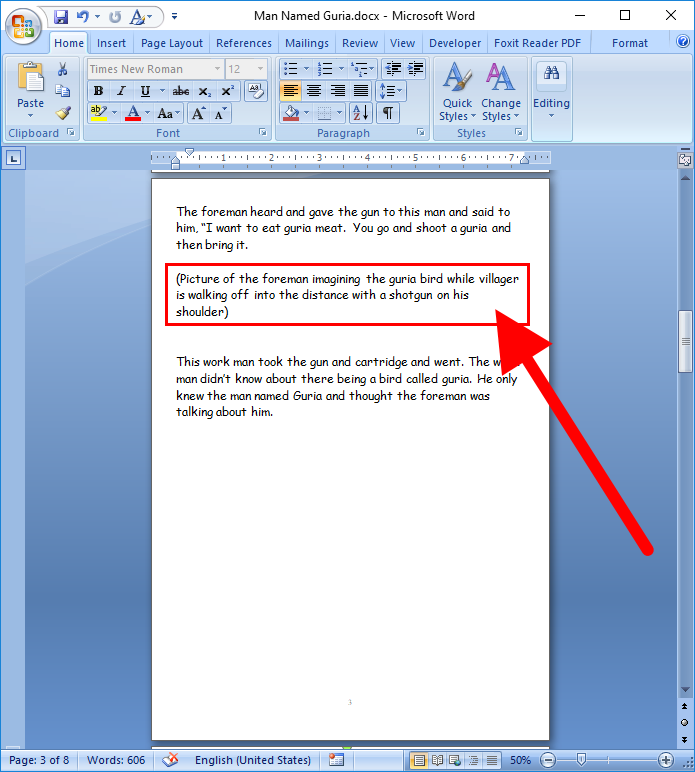
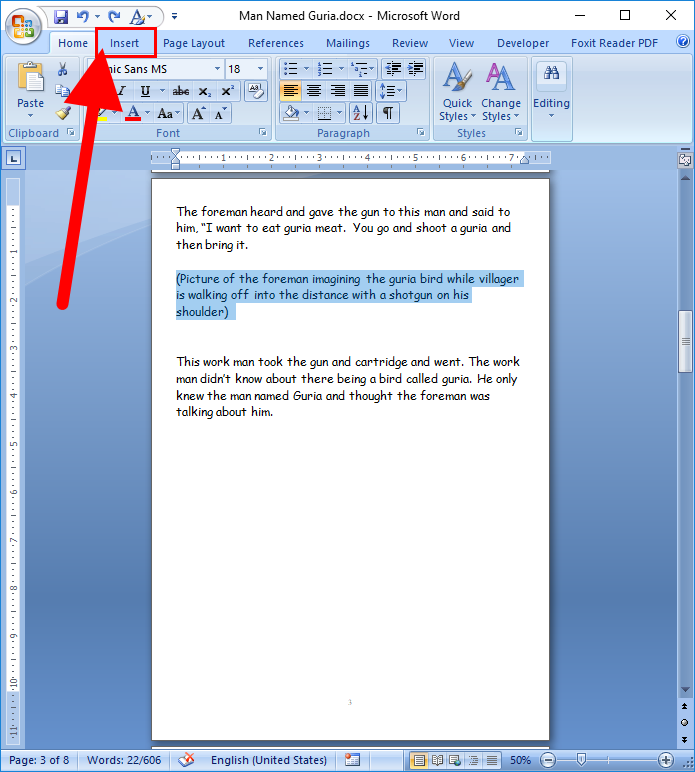
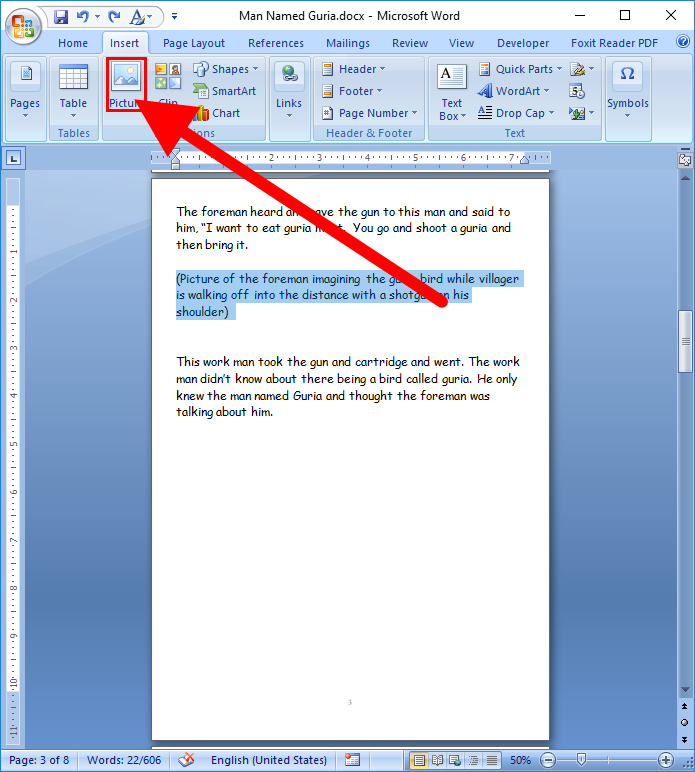
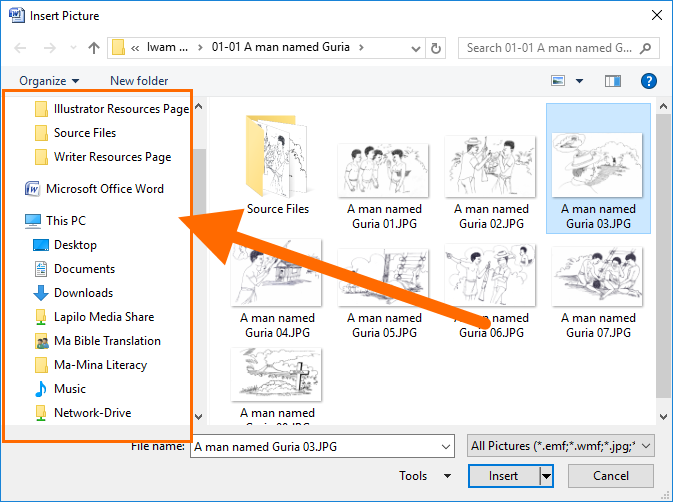
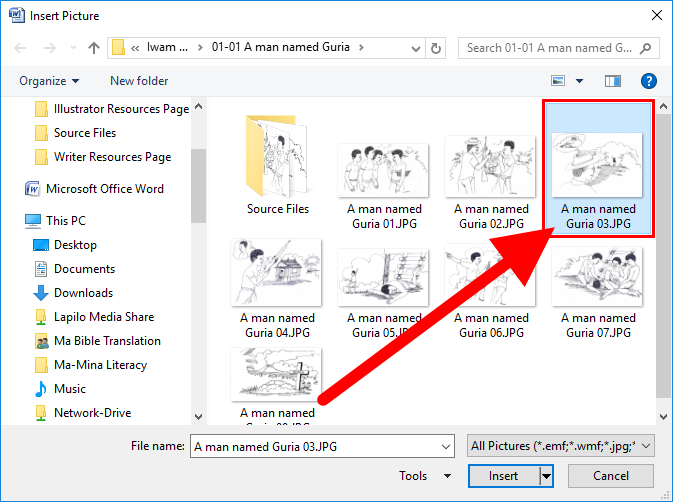
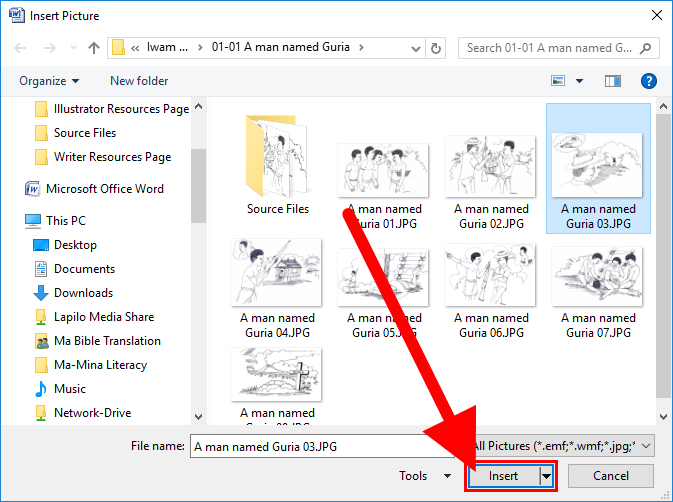
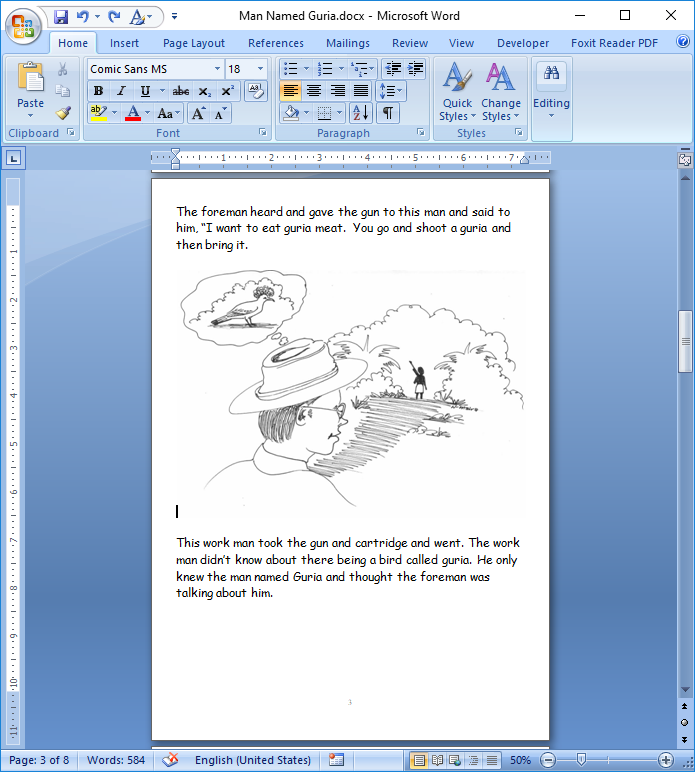
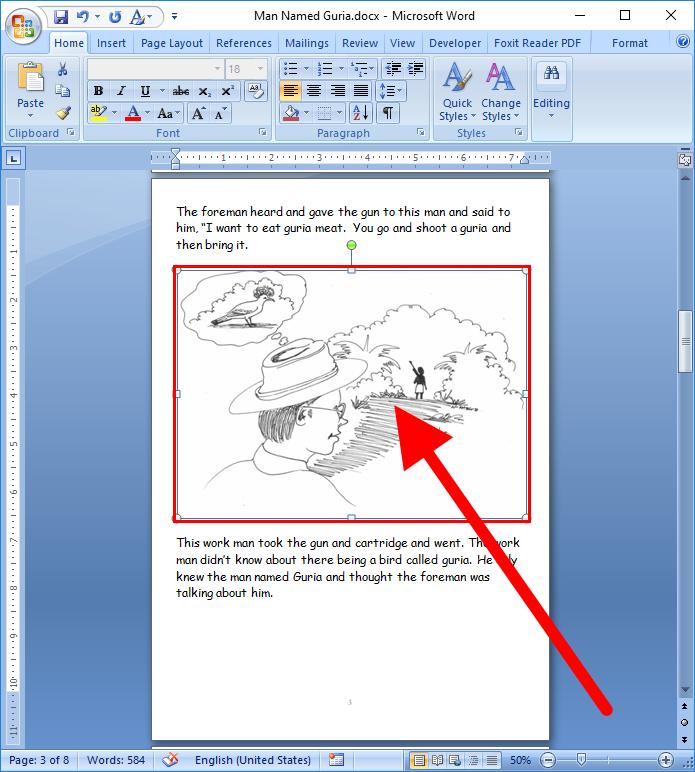
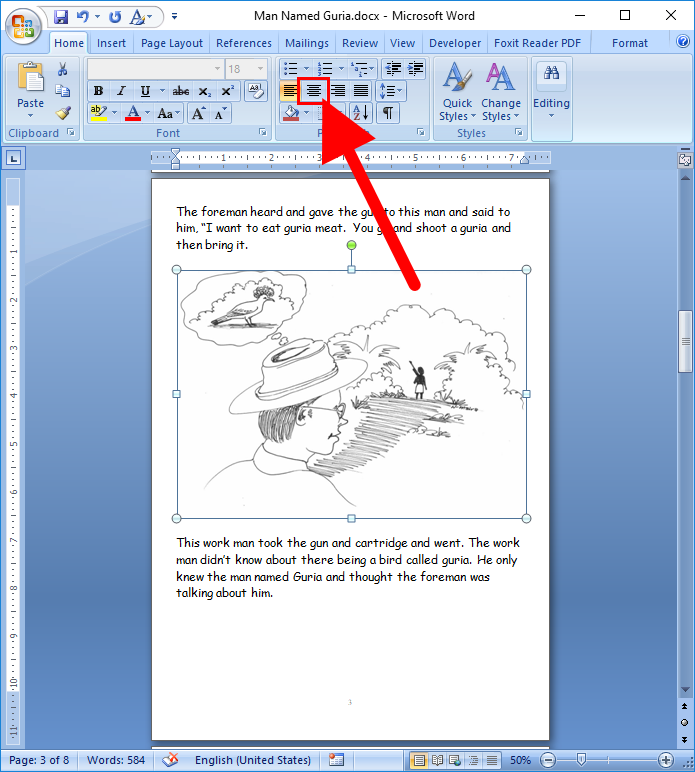
For each image, identify the the location you want to insert it and click there. In some books the author may have created a temporary description in parenthesis that needs to be replaced with the artwork. If there is a parenthesis artwork description, triple-click somewhere in the text or select the paragraph in some other way.Once you’ve clicked on the location where you want to insert the image or highlighted the text you want to replace with the image, find the Insert tab and click on it.Now you click on the Picture icon inside the Insert tab menu of optionsThis should now bring up the Insert Picture window. To the left you should be able to navigate to the location where the images are for this particular book. Navigate to this folder location. If you are the artist or individual who created or scanned this artwork onto the computer, you should know where to go.Once you’ve found the folder containing the artwork for this book locate the specific illustration that corresponds to the page number where you want to insert the image. In this example we are inserting an image onto page 3, sure enough there is an image for page three that fits with the text that is also on that page. Select the appropriate image file accordinglyWith the correct image selected, click on the Insert button to add the artwork to the MS Word fileIt looks pretty good, however in this example notice that the artwork is not quite centered, this is easy to fixClick to the left of the image and see if there are any extra spaces that can be deletedCarefully press the backspace key on your keyboard, be careful not to delete too much. (Be ready to press CTL+Z to undo an action if you end up deleting more lines than you intended to)This image is fine, however some images can be a bit smaller and may need to be aligned center so they show up in the middle of the page rather than off to the left. To do so, highlight the image by clicking somewhere on it.On the Home tab, find the Center (CTL+E) button and click on it. If an image is too big, you may choose to resize it to fit better on the page at this point too.