In order to maintain standard accessibility throughout our library, we have two Microsoft Word templates that are required for all of our resources. Using these templates is especially important because it gives our local translators who are often fairly new to computer technology a consistent format when performing localized translation.
Step 1: Downloading the template
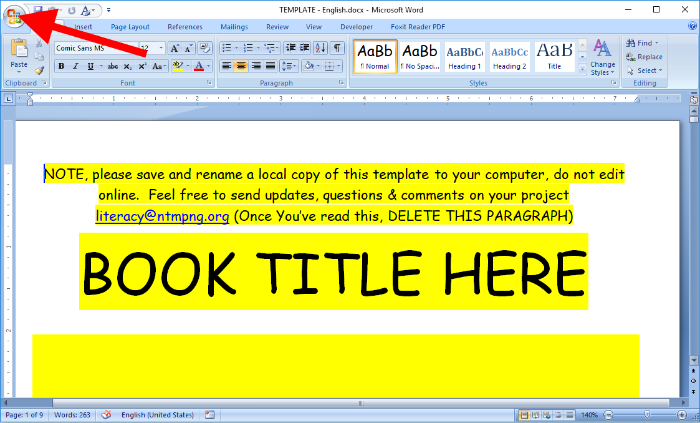
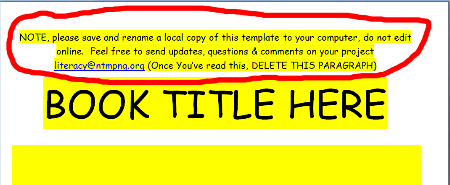
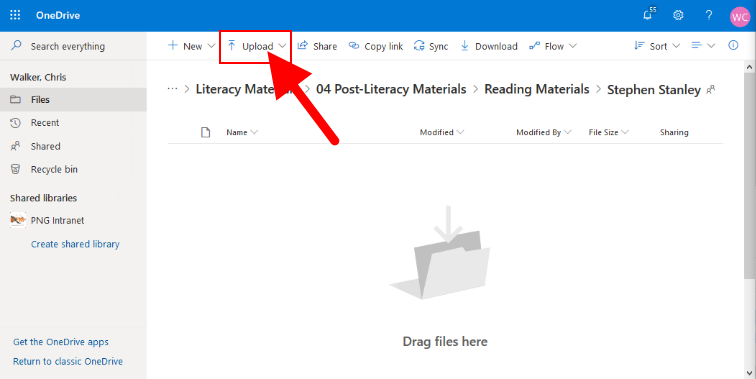
Our template is not meant to be edited online. The current template for beginner and medium readers can be downloaded here and the template advanced readers can be downloaded here. (two determine which version of the template you’ll need for your project take a look at our Authors Frequently Asked Questions section. Once downloaded, you will need a licensed copy of Microsoft Word installed locally on your computer to be able to author your book (While our OneDrive system will allow you to open word files online within your browser, please do not make any edits to the document in this way, it will unacceptably change the template and cause havoc for our printing department down the road, this is why all changes must be made with locally installed version of Microsoft Word instead).
Now it’s time to open the blank template and begin making changes to the document.
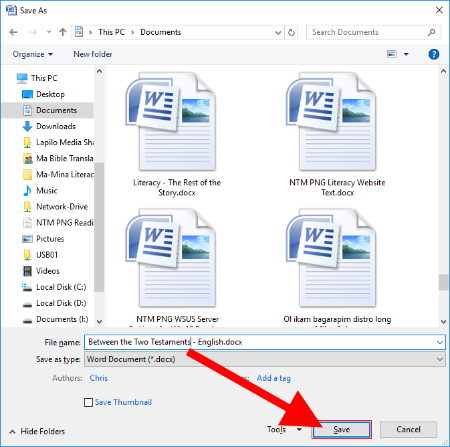
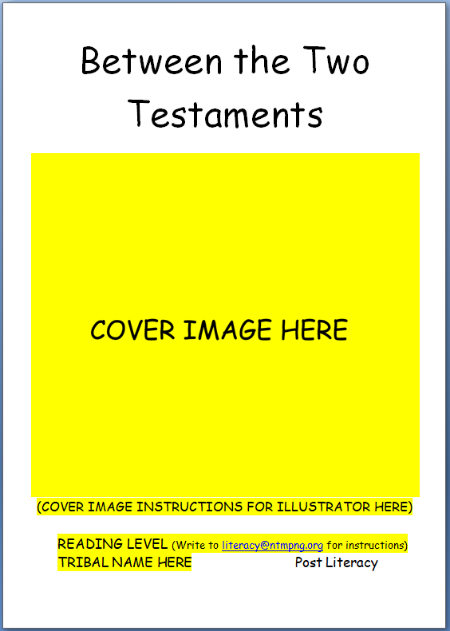
Step 2: The first and critical change is to rename the file itself. By default the template file will be called TEMPLATE – English.docx. So for example, if you intend to write a book about the period of history between the Old Testament and the New Testament, you might choose to call your book something like, “Learning about 400 Years between the Old and New Testaments” or perhaps if that seems too long, “Between the Two Testaments” Anyway, once you’ve settled upon a name, then go ahead and rename the template file to correspond to the new name, like in this example it would be “Between the Two Testaments – English.docx“
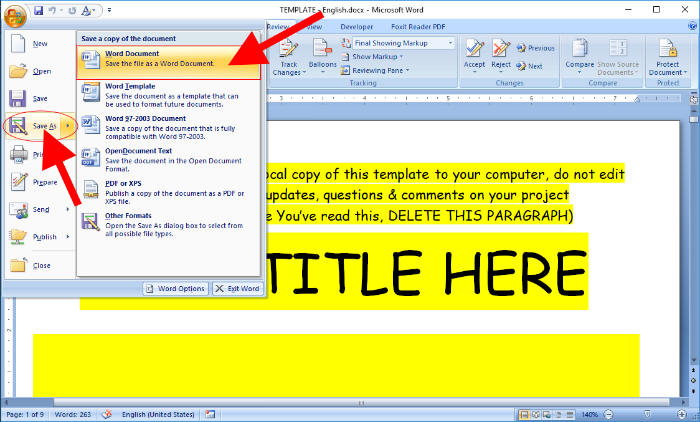
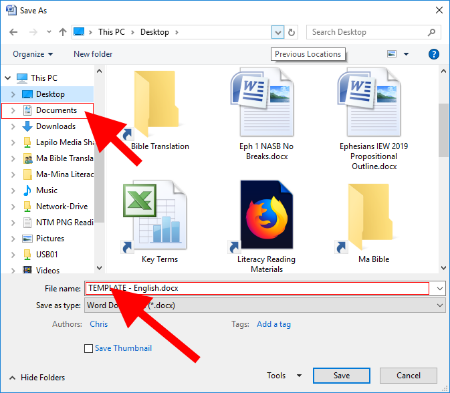
Your version of Microsoft Word might look a little different, but basically it should function similarly, click on the Office button on upper-left corner of the programClick on the Save As button then choose the Word Document option that should appear to the rightTo the left of the Save As window, choose the folder location on your computer where you would like to save this document to. Typically, the Documents folder is a good choice. Next, update the name of the file itself, replace the word TEMPLATE in the name to instead be your chosen name for this bookFinally, click on the Save button at the bottom right of the Save As window to rename the file.
Step 3: Now, let’s start editing inside the file itself. Remove the reminder paragraph asking you to rename the file since you should have already done so according to the instructions above.
We won’t be needing this paragraph any more, go ahead and delete it.
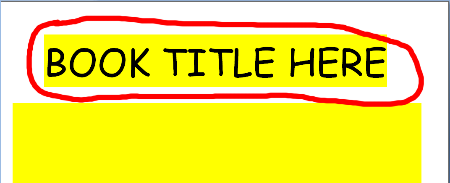
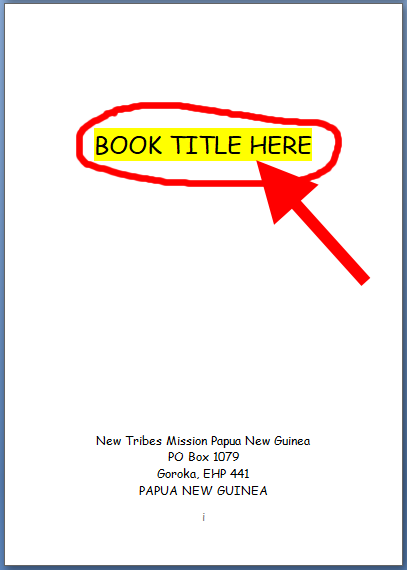
Step 4: Now let’s update the Title of the book
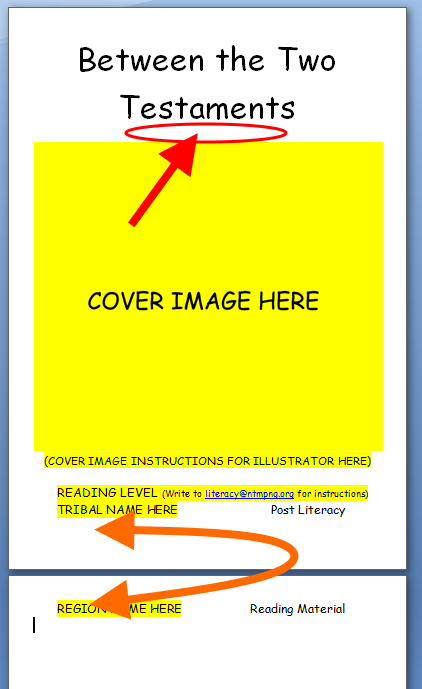
Remove this section and replace it with the title you’ve come up with for this book. Be sure to keep the title font size the same as is defined by the template.Ooops, in this example since the title takes up two lines, part of the front page content has been moved to a new page…The REGION NAME HERE line needs to be returned to the cover page, to fix things in this example, let’s go ahead and remove some empty space from the page just below the title. Click in this empty space and press the delete key. Another alternative here might be to slightly reduce the font size of the title to allow for the cover page content to be returned to a single page.
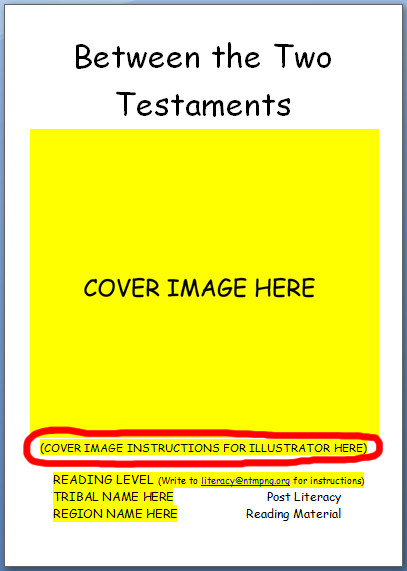
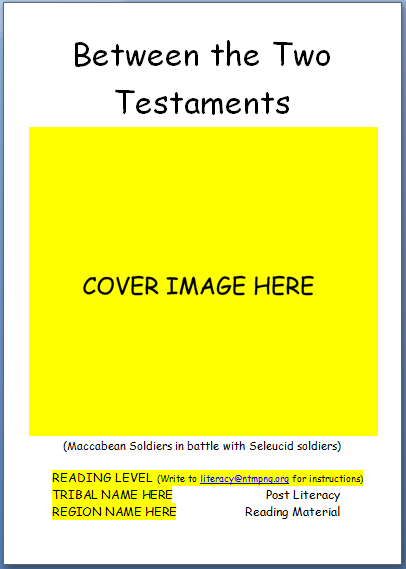
Step 5: Now let’s replace the text to give a helpful suggestion to the illustrator regarding what kind of artwork to apply to the cover of this book. (We’ll leave the large yellow block that says COVER IMAGE HERE just as it is until there is actual artwork to replace this.)
Remove this line and replace it with an actual description of your artwork suggestion to the illustrator. Make sure to keep this line inside of parenthesis ( ) so it can be removed later once artwork is actually ready.Yes, this is what we are looking for.
NOTE: Ignore the READING LEVEL, TRIBAL NAME & REGION NAME blocks for now, those will be updated by others later in the publishing process.
NOTE: The next three pages are the inside front inside cover, back inside cover and back outside cover respectively. These pages should not be changed at this time.
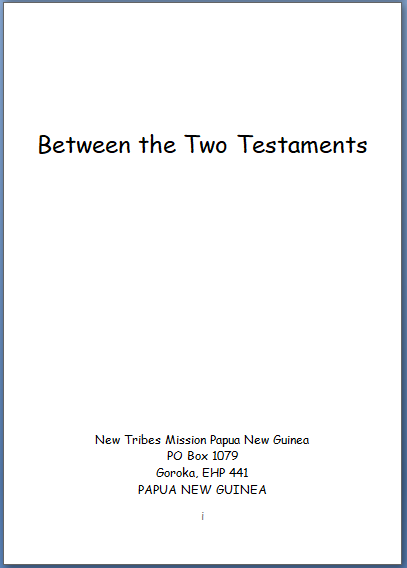
Step 6: Now let’s update the book title on page “I”.
Replace this text with the same title you entered on the cover page. Again, make sure to maintain the font size to match the text you are replacing at this location.It should now look something like this.
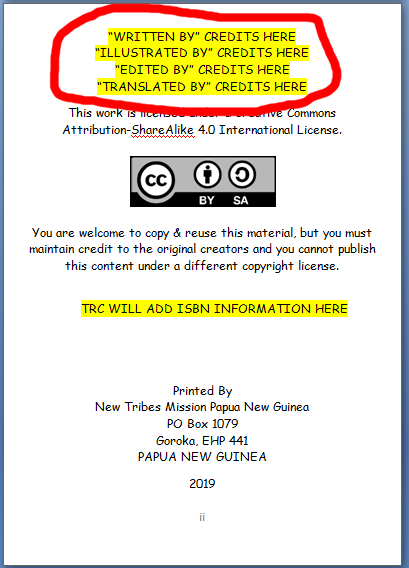
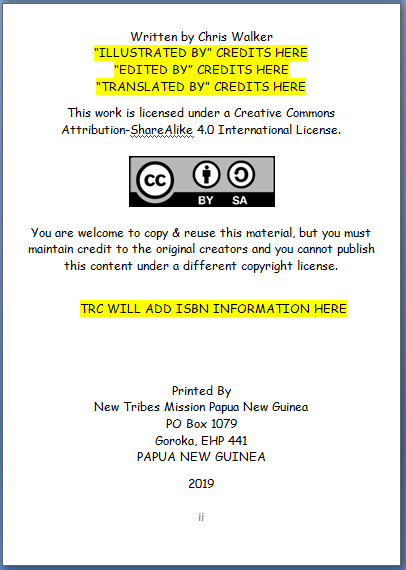
Step 7: Let’s update the acknowledgements section of page “ii”
Replace the “WRITTEN BY” CREDITS HERE line with something like “Written by” and then add your name after that. If you are also the illustrator or performing any other function for this book go ahead and update those lines accordingly as well.Should look something like this
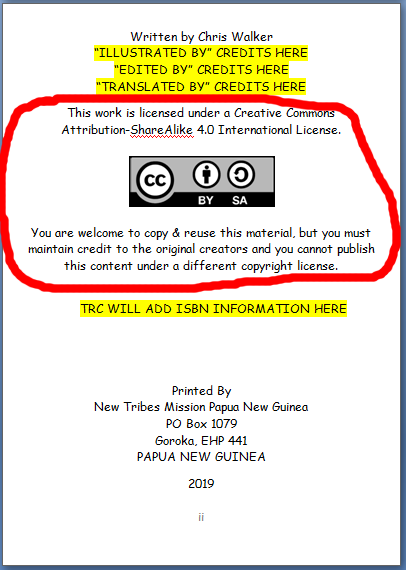
Step 8: Review & possibly update the copyright section on page “ii”
This section contains the standard wording for copyright protection for books in our library. However, if you as the author prefer to issue your book with a different copyright statement, this is where you’ll want to add in your desired wording before proceeding. If you do not wish to use our recommend Creative Commons licensing, please be sure to discuss your wishes with our literacy team so we can better understand your wishes in regards to copyright protection.
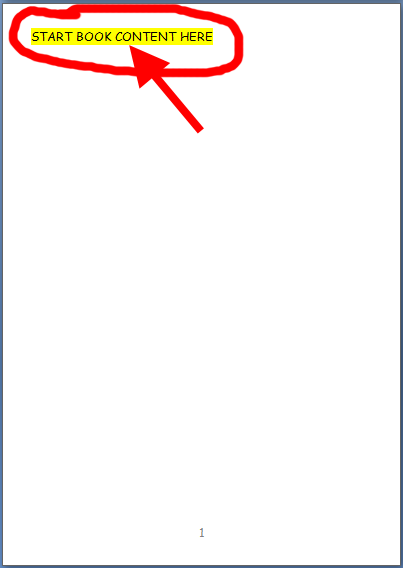
Step 9: Proceed to page 1 and begin composing your book.
First, remove this block, then begin typing. If everything is working well, your page should look something like this. As you type, be sure that every page of the actual content of your book gets a page number, starting with page 1. If your first page has a blank at the bottom of the page, you may have accidentally started composing a page too soon.
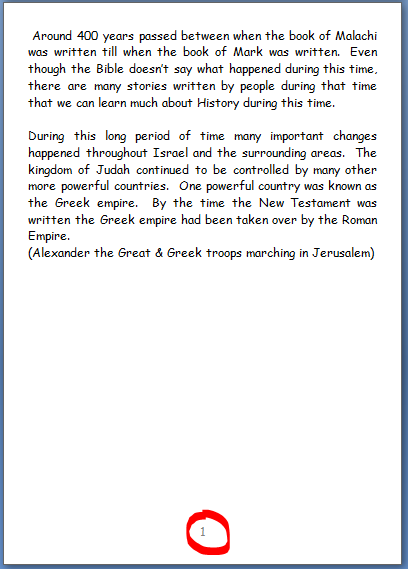
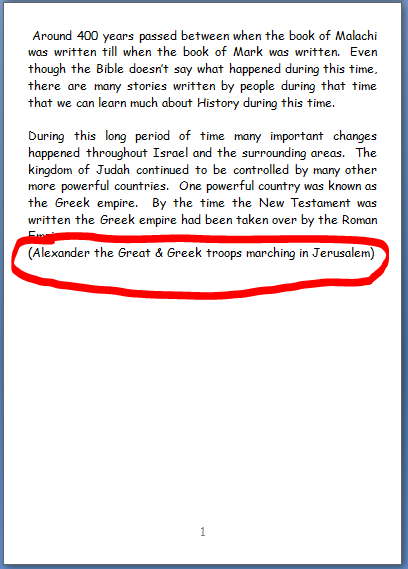
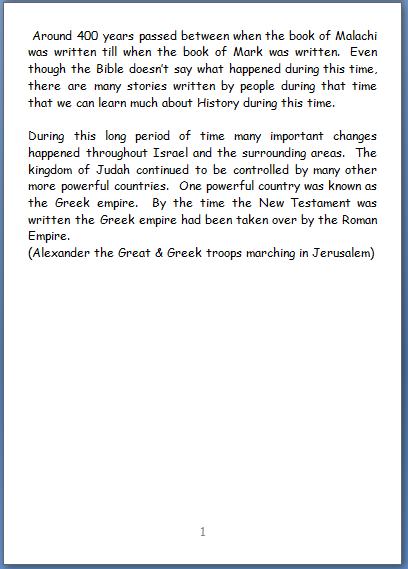
Step 10: Include suggestions to the illustrator on each page.
NOTE: Unlike beginner & medium reader books, an advanced reader does not require an illustration per page, but instead only requires illustrations as the author determines is helpful to support the content
For medium reader books, 1 to 2 paragraphs of content on each page should then also feature an illustration that compliments the text. Place your suggestions to the illustrator within parenthesis ( ) so this text can then be deleted and replaced with the actual illustrations once they have been completed by the illustrator.Continue each page in a similar fashion until the book is completed. Keep in mind that there are minimum requirements of 50-60 pages each book to ensure that it is useful to our missionary teams.